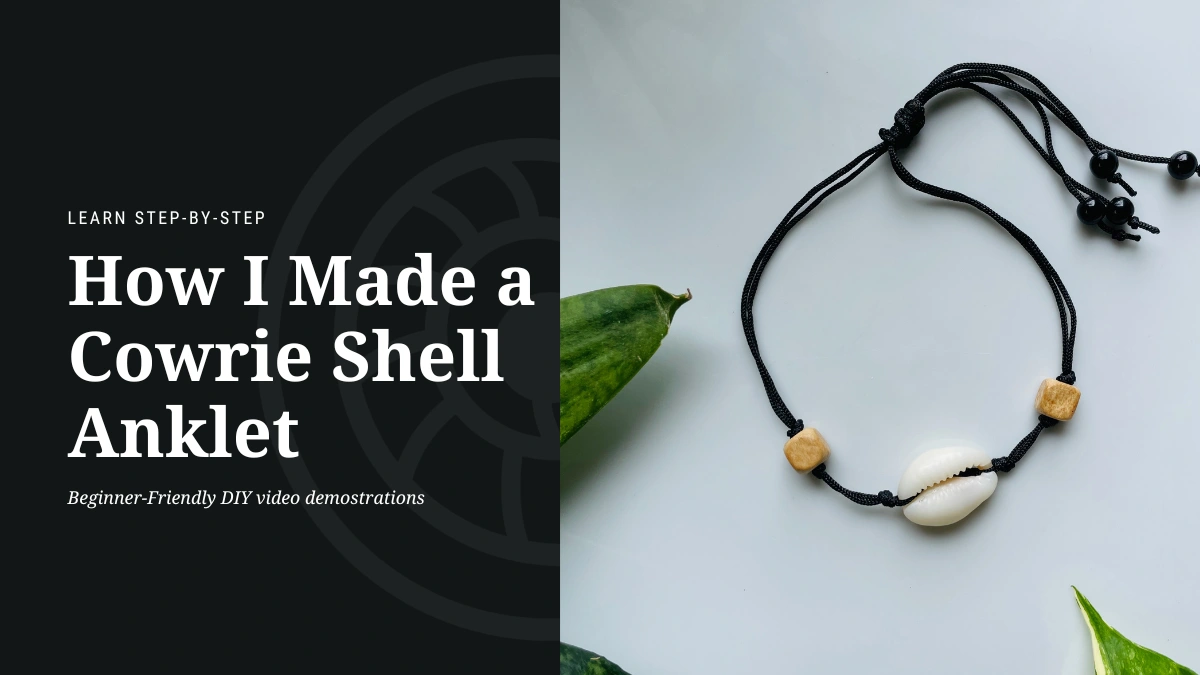
Beginner-Friendly DIY with Step-by-Step Instructions
Hey! It’s Dilip again. After making a cowrie shell necklace and a cowrie shell bracelet, I thought why not try a matching cowrie shell anklet?
I love that beachy, boho vibe, and honestly, there’s something special about feeling a little piece of the ocean around your ankle.
Plus, anklets are easy to make and super cute for barefoot beach days or even casual summer looks.
So here’s a little tutorial of how I made my first cowrie shell anklet from scratch with no fancy tools, just simple steps and a bit of creativity.
What You’ll Need (Your Mini Beach Kit)
Everything I used cost me less than around $5 for this cowrie shell anklet, and I picked most of it up at my local craft store. Here’s the full list,
- 5 to 9 cowrie shells (depends on your ankle size)
- Waxed cord, nylon thread, or cotton string (50–60 cm should do)
- Scissors
- Lighter or candle (for sealing the ends)
- Mini hand drill
How I Made It (Step-by-Step)
Step 1 – Remove the Cowrie Shell Tops
Alright, here’s the part where we transform plain shells into polished anklet stars.
You’ll need around 7–9 shells. The first job? Remove the top part of the shell and smooth the edges.
01. Drill the Shell Top Use a 1mm or 2mm drill bit to carefully drill the top of the cowrie shell. You’ll see how I do it in this demo.
02. Lift the Top Off Once the hole is made, grab an iron rod (or anything pointy but safe!) and lift the top gently. It should pop off like this.
03. Remove Extra Bits & Grind Smooth There will be some extra shell bits hanging around. We’ll clean them up using a grinding shank on a mini drill. It makes everything smooth to the touch.
04. Remove Sand Inside the Shells Some shells might still have tiny sand grains inside. I use a small flathead screwdriver to scrape them out.
Dilip’s Reality Check, This step takes patience, but it seriously upgrades the final look. Take your time and enjoy the process!
Step 2 – Cut Your Cord
Now let’s prep the string.
I cut about 35–50 cm of cord. Want it to wrap around your cowrie shell ankle more? Go longer.
Then I gently melted the tips with a lighter to stop fraying. Just a little melt, not a flame show.
Also, I made a small knot on one corner of the cord to act as the end stopper.
Step 3 – Add the First Shell (and the Rest)
Time to bring in the shells!
Take your first shell and thread both ends of the cord through the back hole one from each side so the shell lays flat in the middle.
Then keep adding shells the same way. I added some wooden beads for a pop of color too.
I know this step is a bit tricky to explain in words, so I made a video that shows the whole process clearly.
Once you’re done threading all your shells, melt the cord ends slightly to secure everything in place.
Step 4 – Make It Adjustable
Let’s add a sliding knot so it fits just right!
Cut another small cord, about 10 cm long. This part creates the sliding closure that makes your anklet adjustable.
I made a chain of knots around the two anklet cords and melted the ends to lock it in.
Dilip’s Extra Note, The sliding knot makes the anklet feel like real jewelry not just a tied string. It’s easy and looks so good!
Extra Ideas to Make It Yours
If you feel creative (and you totally should), try these,
- Add beads between shells for color
- Use two or three thread colors braided together
- Attach a charm like a tiny starfish or dolphin
- Make a matching bracelet while you’re at it!
I actually made a full beachy set necklace, anklet, and bracelet. It turned into a whole summer vibe. My cousin even asked me to make her one!
Where to Wear It (and Show It Off!)
- On a beach trip, barefoot on the sand
- With sandals, shorts, and an oversized tee
- As a boho-chic accent with flowy skirts or dresses
- As a handmade gift for a best friend or sibling
Wanna Sell Your Anklets Too?
Honestly, this could be more than a hobby. I listed mine on Facebook and got a few orders in the first week. Here’s how to make it a mini side hustle,
- Take nice photos (natural light helps!)
- Share on Instagram, TikTok, or Etsy
- Offer custom colors or matching sets
- Add a cute note in each package
- Market them as eco-friendly or handmade beach gifts
Cost to make – Around $1–2
Potential price – $8–$15 (or more for sets!)
Final Thoughts from Me
When I started this, I just wanted a cool anklet to match my necklace. But sitting down with some shells and string turned into something so relaxing and satisfying. I made something with my own hands and you can too.
So, whether you’re making it for yourself, as a gift, or to sell go for it. Light a candle, get your playlist going, and let your creativity flow.
You’ve got everything you need. And I’m cheering you on from here. Happy crafting, my friend!

